• Hi Guest. Welcome to the new forums. All of your posts and personal messages have been migrated. Attachments (i.e. images) and The (Old) Classifieds have been wiped.

    The old forums will be available for a couple of weeks should you wish to grab old images or classifieds listings content. Go Here

    If you have any issues please post about them in the Forum Feedback thread: Go Here

DIY

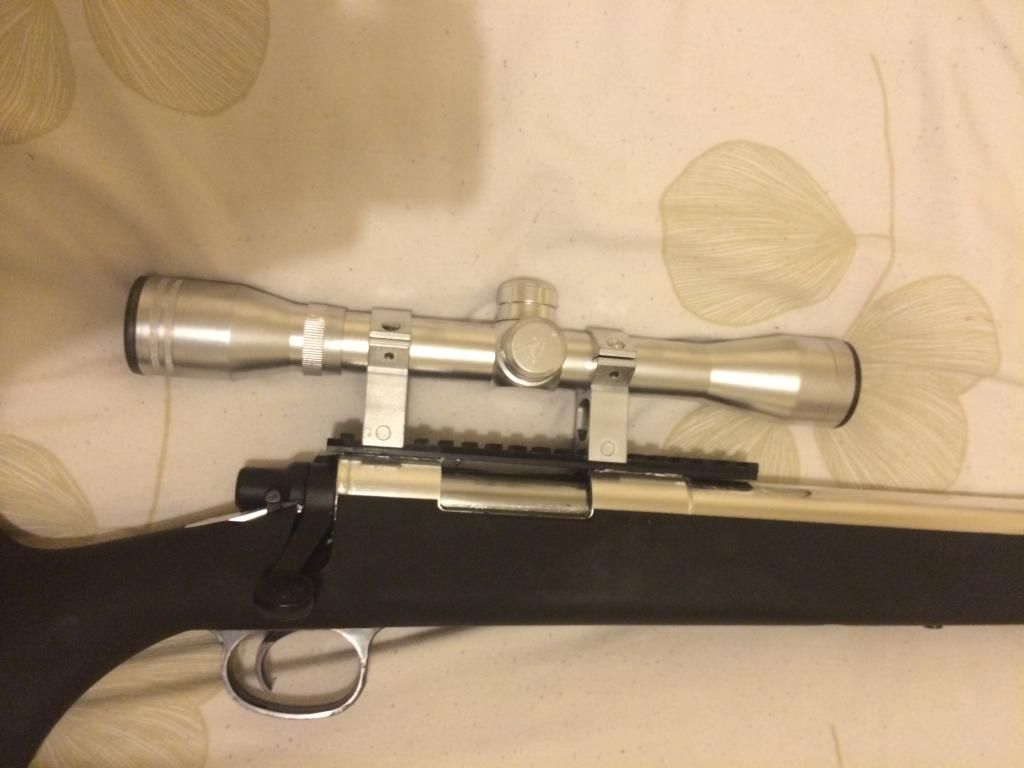
My Rifle is having a bit of an identity crisis, inspired by the TM Pro Hunter, And maybe a little from the new Jurassic World trailer

It started all black, then became a bit camo'd
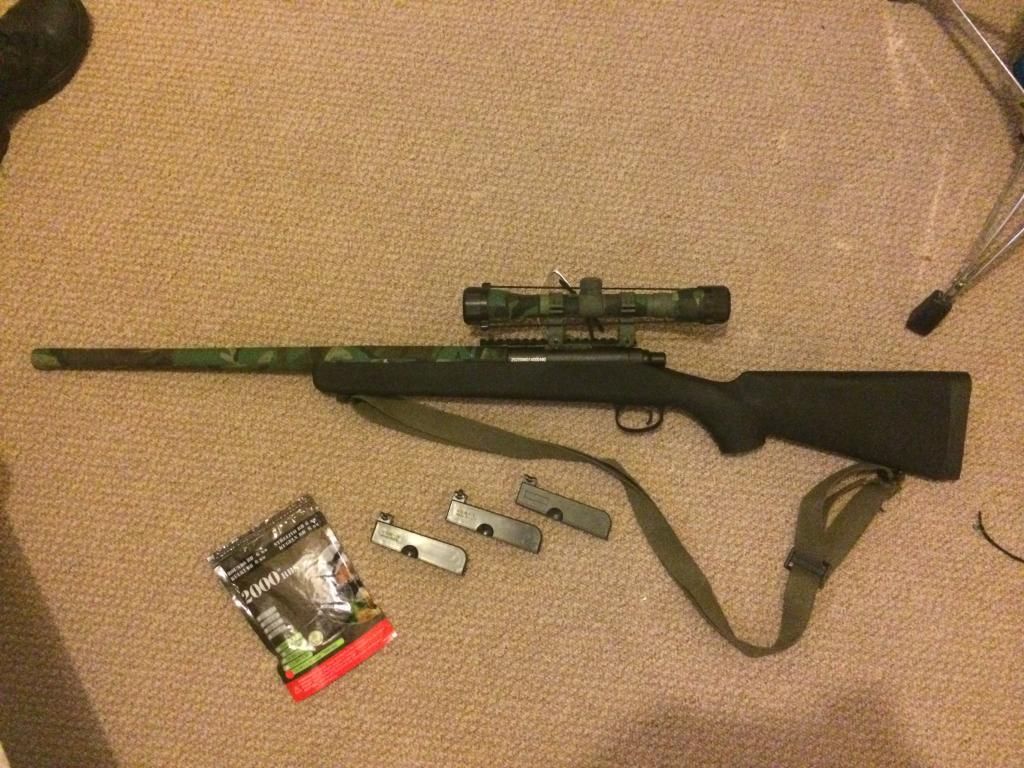


And today has transformed to ...
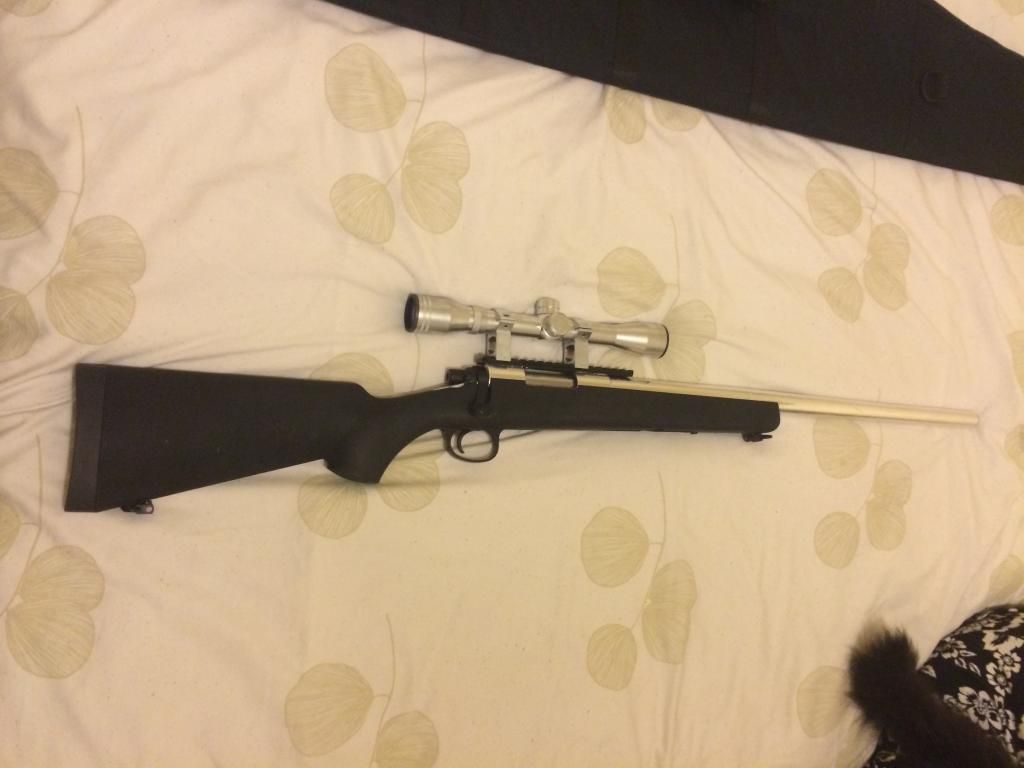


I stripped all the Camo tape off the scope and sprayed it with some Plastikote Brilliant Metallic chrome effect paint. Its not chrome at all, its very flat, but still retains a metallic look. Unfortunately you cant lacquer it as it turns the paint a dull grey akin to primer.

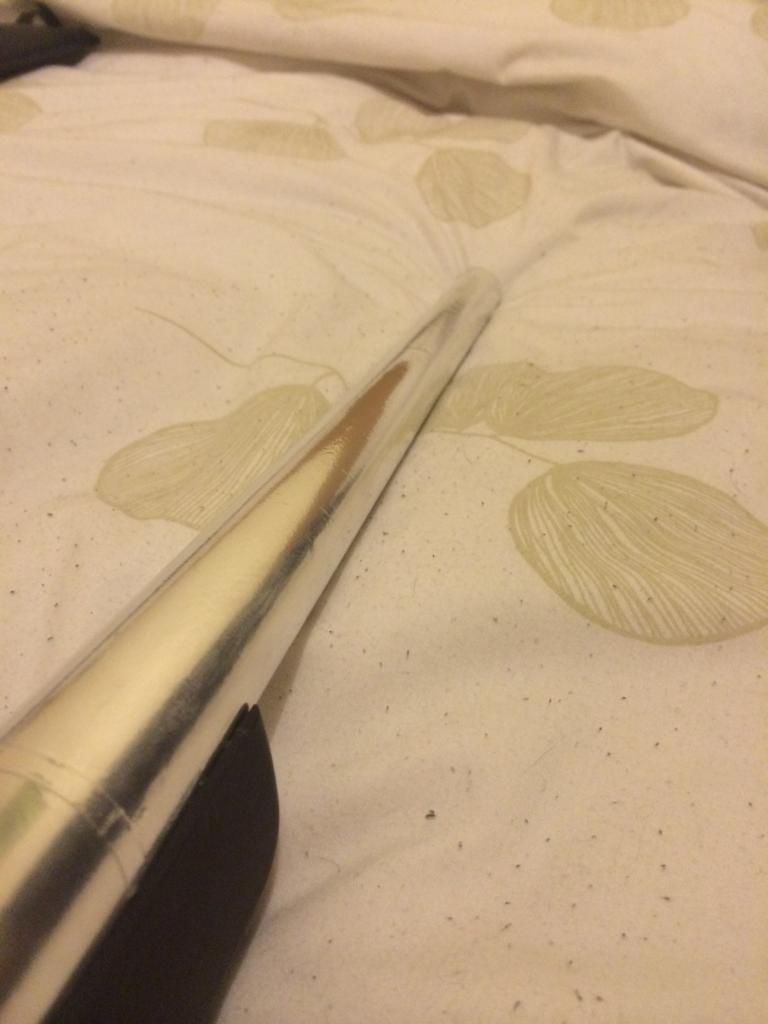
The barrel and receiver of the gun was blinged up with some Aluminium tape. Its used by builders who need alloy tape for stuff. It only cost £5 for 10m and is pretty good. I got the idea from watching a Tested Video on Youtube, apparently Hollywood prop makers use it to make chrome things. [SIZE=14.4444446563721px]A quick bit of brasso and it can polish up quite shiny, or a quick once over with wire wool gives it a matt stainless steel look.[/SIZE]

Its just like tin foil, but thicker and sticky backed. just lay it in an smooth it out. It does wrinkle if not careful and my first attempt Its not perfect when you get close up, but it is non permanent and just peels off.

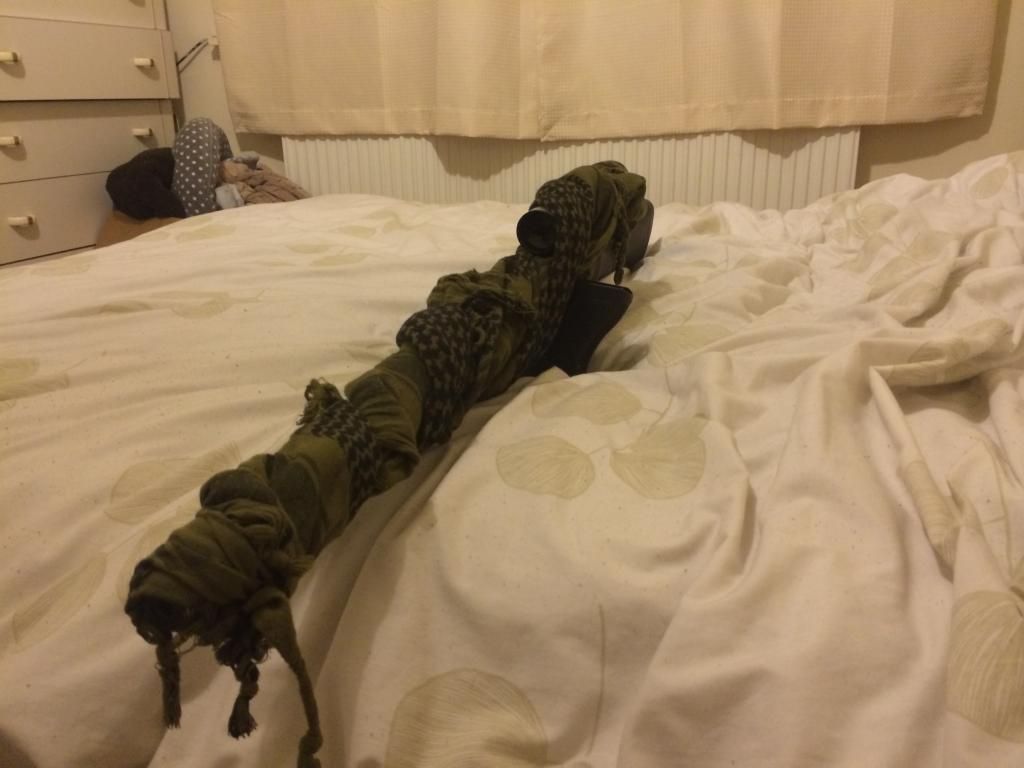
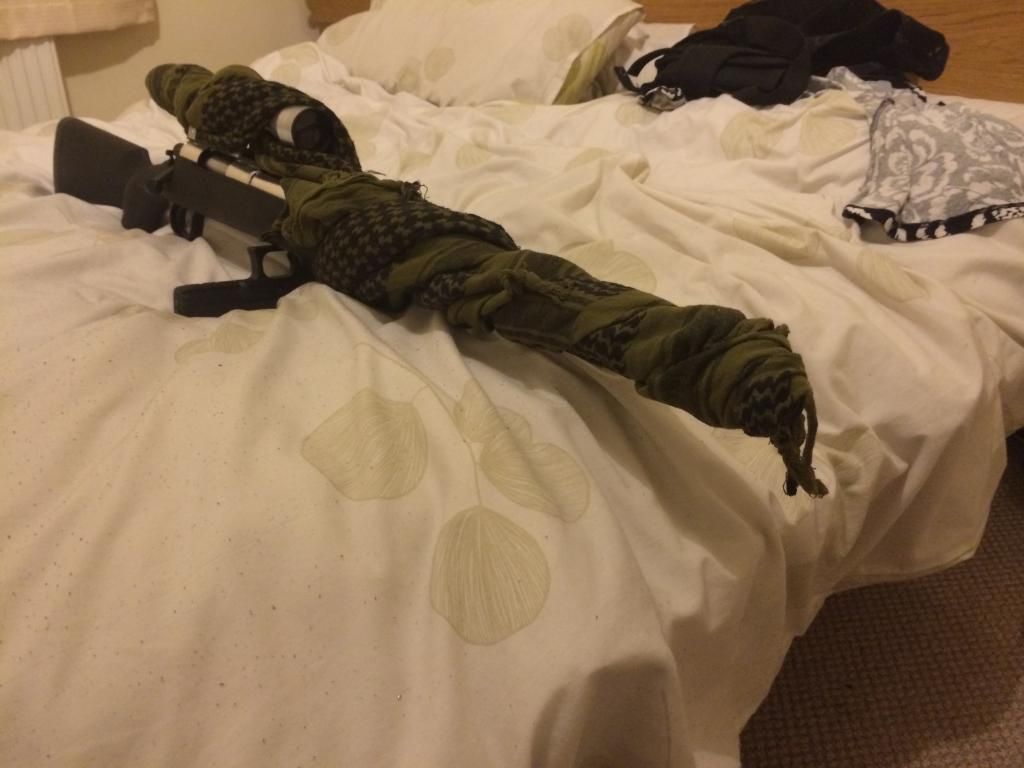
[SIZE=14.4444446563721px]I'm working on a velcro veil made of a shemagh and scrim to cover it up for when i do want to play stealthily.[/SIZE]

What do you think, I like it, but i'm not sure i'm going to keep it forever.

 
I can see why you painted it,you can always strip off the chrome stuff to revert to the original black. I would have gone the full mile to sand and polish the metal bits for proper chrome but that's a more permanent approach. I actually quite like how it came out,from far away it looks spot on for a pro hunter

 
It's perverse, but i do kinda like it. But like that it wont be much use as a sniper rifle when the weather brightens up, because it will glint even through a veil.

 
Most of my current sites play fairly quick attack and defend games where range accuracy and tactics are more valuable than concealment, however A few min with a shemagh and ...


I need to leave a little of the left hand side exposed so not to jam up the bolt, but a few well placed cable ties cover most of the glint, you will only see it if your coming from the side where you will probably already have the drop on me.

I tried to strip and polish the barrel on my m4, until I realised it was hard anodised, gave up and painted it. Plus I can't justify spending any money on a polishing wheel this close to Christmas.

It would look very nice properly cut back and mirror finished. I did consider getting it pseudo chrome plated at my local car tarter upper, but for the price of the tape I think it's a reasonable compromise.

 
gonna try see if the single stack hi-cap I am building will work on one of these:

ER-M4E1-850-MAG-1.jpg


If so, I'll keep this and possibly sell the double stack HPA hi-cap GHK G5 mag and may continue with the "normal" hi-cap I'm building and sell that too.

 
Even though this is pretty simple, I'm sure there are more of you who like me have thought, "I just don't need even 2L of water on my back for a game and any weight I can shave off my loadout is all to the good," but when faced with the prices of smaller hydration bladder and pouch combos, or just the pouches, have thought, "Bollocks!" How can the smaller ones be so expensive, eh? It's not as if they a miniature and requiring additional craftsmanship or anything :lol:

Anyway, I managed to find a 1.5L bladder at a sensible price here which comes pre-fitted with a Camelbak stylee removeable bite valve and tap (which are £8 on their own), so that you can decant the water into a cup, or a hand (to rinse a BB fragment out of your eye without scratching your eyeball for eg). I then bought a simple 2-3L size molle bladder pouch from here - what I wanted was lightweight and OD and you can't get much simpler unless you dispensed with the outer molle and the insulation pocket. I wanted the opportunity to fit a piece of old camping mat to prevent my body heat warming the water, but that would make sewing it a little less than completely straightforward.

It's a simple enough job to turn the pouch inside out, but then you find that the edge seams are bound with 20mm black webbing - great for the quality of the item and its longevity, but a bit of a ball ache to undo with a seam-ripper. I then had to cut the angles which allow holes in the bottom of the insulation pocket, so that any water which may get inside can run out of the bottom, and refinish them with the bits of thin edge binding which were originally lower down. Then it was a simple job of cutting the webbing seam binding to size, pinning it and sewing the new seams:

IMAG0401.jpg
IMAG0402.jpg
...ignore those straps with the metal hooks - they're from the webbing it's now attached to.​
I then wanted an admin panel on the back as it's no good having patches and no velcro to attach them to. So I used a couple of layers of the pouch leftovers, some UBACS elbow neoprene, bit of 20mm OD webbing, and some velcro:

IMAG0404.jpg
...big enough for an NAE patch, but most likely to be carrying an AF-UK one​
(as it doesn't fit neatly on the front of the webbing).​
Turned out remarkably neat for one of my creations :lol: so yeah, forget blue bladders, or £50-odd combos, and make your own!

 
Blimey - very good work indeed....

I was gonna put a sarcastic comment how good your sewing craft is

but nope - gotta admit that is a very nice bit of work there sir

 
Oh yeah, the fact that i can sew definitely casts aspersions on my sexuality :lol: but £30-ish posted from fleabay and you can't go wrong:

IMAG0405.jpg
...you need needles made for sewing jeans to cope with webbing​
and self threading hand sewing needles make it easier to tidy up the loose ends in a way which will not come undone; few pins; you should get a seam ripper with a machine but even if you have to buy one, they're not dear, and they do work much better than scissors.

 
Last edited by a moderator:
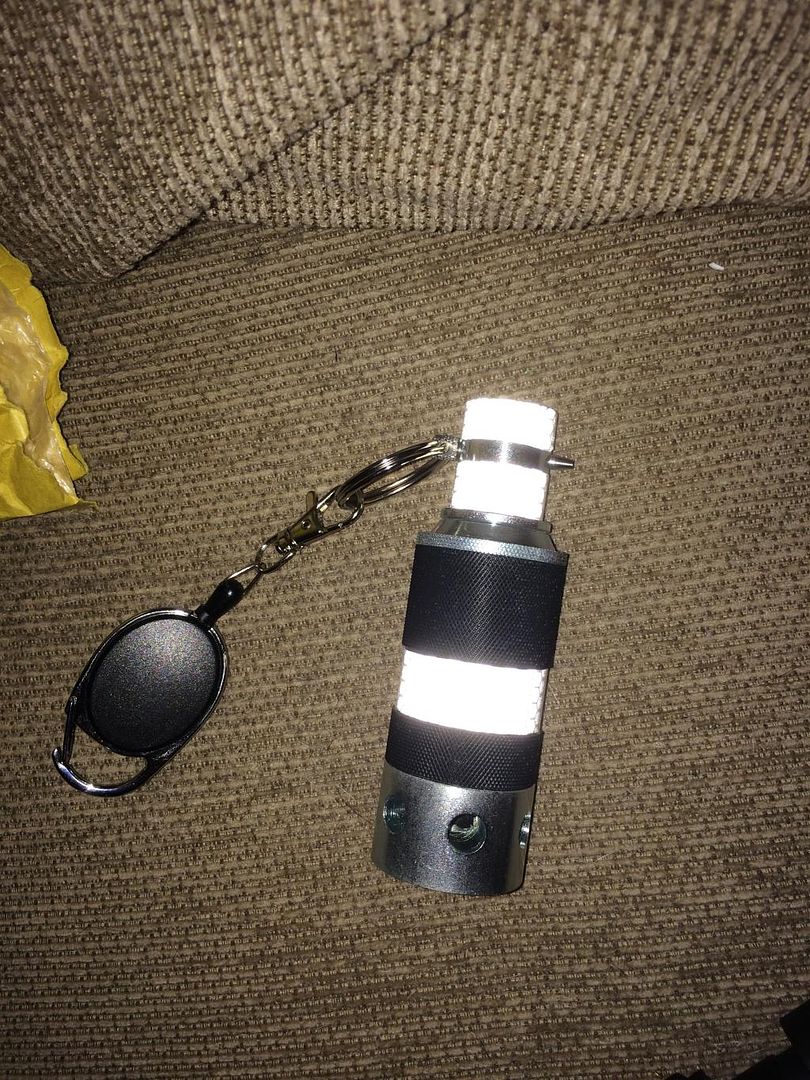
quick way to find your ohshiboom ... reflective tape B) (i did this when i first got my original ohshiboom ... just thought i would put a pic up with it on my new one)

40D870AE-77AC-4A08-A0B5-D644F723A592_zpsxob0zmuz.jpg


(edit should mention that its not very reflective in normal light, but shine a torch at it B) )
OMGonads, we'll have to think of a home/away strip if we ever play the same venue...

IMAG0429.jpg


Edit: oops, i didn't notice the tape on the top of yours - i'm planning to add a key finder fob to mine too.

 
Last edited by a moderator:
So the polycarbonate lenses I ordered to replace the double glazed glass ones in my PBF respirator turned up. They are 51x5mm and arrived cut perfectly with no surface defects, so I'm very pleased (and at £14.95 posted for the pair I have to say that had i not been, i'd have been distinctly miffed). My hat off to whomever it was who spotted the ebay store which sells the stuff and wrote about it in their status update: I'm sorry but I can't remember. Anyhoo, here is the place. The thickness I chose was just to make them a perfect swap for the originals; I'm certain that even 2mm of this Lexan stylee PC is BB proof.

The mask itself is much easier to breath through with filters fitted than a GP-7, or an S10 for that matter, but I decided that since I'm not actually going to be wearing it in a war zone, and even if i were the filters would have run out of effectiveness by the time I got there since they've been unsealed for a few months, that I may as well cut the filter part out leaving just the frame. I did this because the baboon cheeks deflate when you inhale without filters fitted internally. I also sealed the edges of the cut filters with liquid latex to prevent charcoal powder, fibres, and whatever else is in there getting down me throat.

So now it's good to go for a S.T.A.L.K.E.R. game, woohoo!

EO_19_filter_interior.jpg


EO_19_filters_prepped_for_airsoft.jpg


10518985_430590167098866_1030149608119941610_n.jpg


OMGonads, we'll have to think of a home/away strip if we ever play the same venue...

IMAG0429.jpg


Edit: oops, i didn't notice the tape on the top of yours - i'm planning to add a key finder fob to mine too.
SNAP!


I took this picture when I first bought it over a year ago. The reflective tape gets pretty messed up throwing it against hard surfaces. Mines red and white reflective with my name on it too ;)

I also use the same molle pouch!

 
I'm experimenting with a scope and red dot on top combo. For that to work I need a low mount for the scope and that means that the G3's front sight is in the field of view. So I designed and printed this to solve the problem:

g3vegcad-horz.jpg


So my ESS Turbofan knock offs turned up - I'm quite impressed by the build quality in the main, but the rubbery frame under and above the lenses has holes in it for ventilation which, imo, could allow a BB through due to the material's flexibility. I only noticed it when I peeled the dust filter foam off, so I'm doubly glad that I did...

IMAG0435.jpg

So I've stitched it with some brass wire and it now seems solid enough:

IMAG0436.jpg
I'm not sure what to do about the area above the eyes, because it seems like a good idea to leave the foam dust filter in place, to make the fan pull air only from inside the frames, rather than sucking it easily down from outside. But under the foam the frame is the same as below, so maybe I ought to put some wire over the top of the foam...

 
Spent this afternoon messing about with Svetlana... ooh er, missus! My SVD. I put a Maple Leaf 60° hop rubber in her t'other day but hadn't had a chance to test her with the BB King white 0.4g and Welts white 0.43g BB's - the result = instant jams. After a lot of faffing about I've discovered that it isn't the hop rubber, or me, it's that neither of these BB's are round enough for PDI 6.01mm TBB's. TBH I'd heard this already about the BB Kings and also tested it for myself, but I was horrified when i got my digital callipers on the Welts - variations of 0.02mm in some of the worst ones & overall variations of between 5.94mm and 5.99mm across the board.

So it's back to the PDI W-Hold rubber and Blaster Devils 0.3g BB's for me.

Shit.

 
Back
Top