• Hi Guest. Welcome to the new forums. All of your posts and personal messages have been migrated. Attachments (i.e. images) and The (Old) Classifieds have been wiped.

    The old forums will be available for a couple of weeks should you wish to grab old images or classifieds listings content. Go Here

    If you have any issues please post about them in the Forum Feedback thread: Go Here

DIY

Ha! Actually i've just sussed it while having a piss, as you do! It needs 3 tubes: 1 as a perforated barrel, 1 as a stabilising envelope and to attach the firing pin, and 1 to trigger a rotating sear. It'll have to wait until i get my new lappy screen before i draw it, but by next Monday we should have a plan for a safe projectile bang...

 
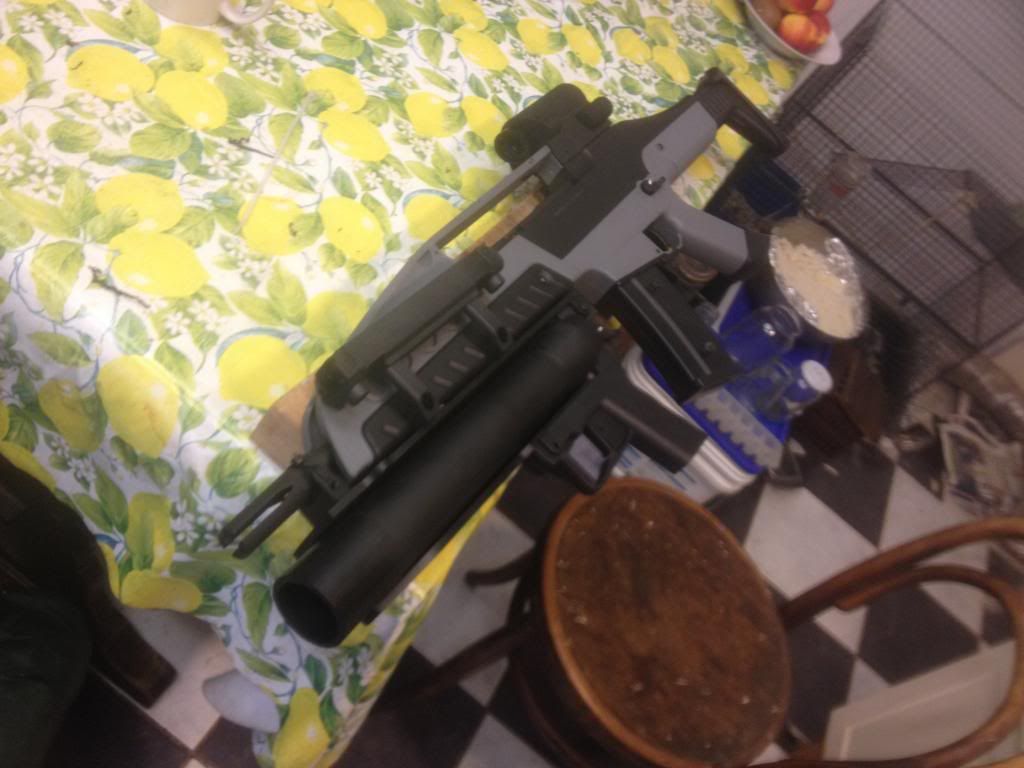
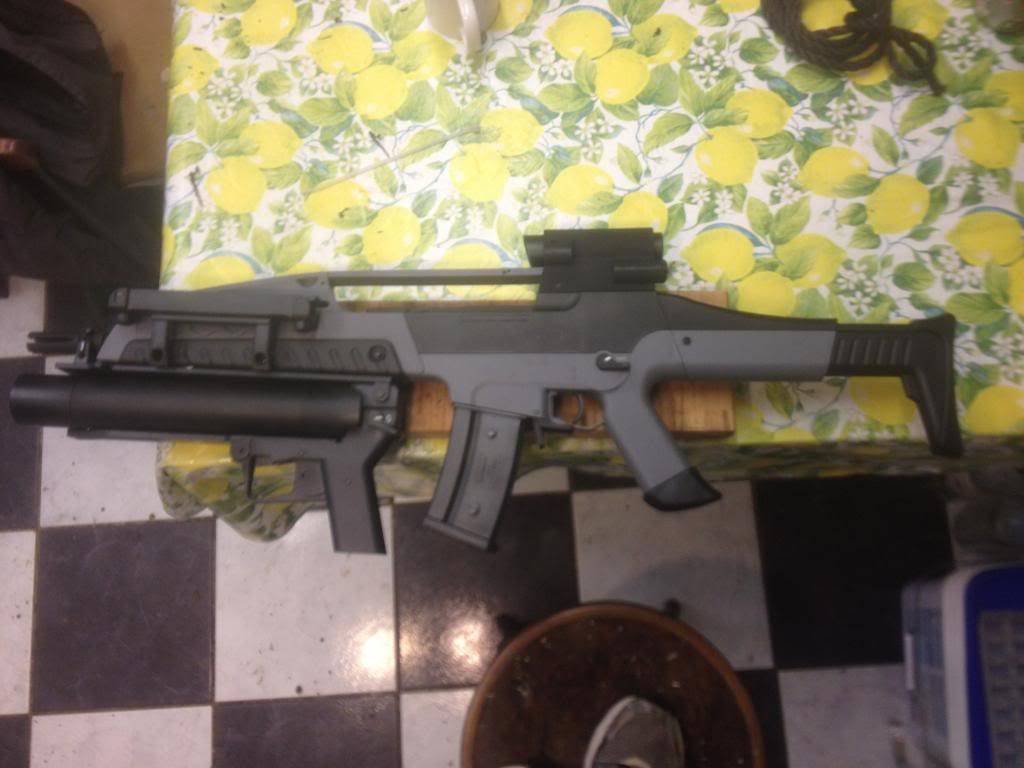
A classic marmite gun, with a twist. as many of you will now realise, it was I who bought the discounted XM8 (I believe an evil laugh would be kinda appropriate).

And absolutely hating guns which other people might have, feast your eyes on Tina:


sorry about picture quality, Iphone with a well used lense.

 
Last edited by a moderator:
I think I have solved the knee pads under battledress issue!

The issue: WW2 battledress trousers would just look wrong with knee pads on top. Knee pads under trousers are just plain uncomfortable as the elastic digs into the skin and you cannot adjust them easily if they start to slip down.

I thought I had a solution which was to get some large tubular bandage to wear underneath. Then I had a better idea which was to take the elastic off and sew the kneepads to the tubular bandage. This would mean the kneepads would be unusable for other loadouts. The other drawback of using existing kneepads is that they are bulky.

What I have just done is take a sheet of high density foam which used to be part of one of my Molle Vests (removed it as it mean't I couldn't feel hits) and cut it in half. This gives 2 pieces about 3" by 5". I then cut a V out of each long side about halfway down going about 1" (1/3 of the way) towards the center. Stuck the V cuts together with duct tape so the foam is now Knee shaped. Spread fabric glue over each knee pad and with in on my knee, rolled tubular bandage over the top and leave to dry. Result: cheap low profile knee pads.

 
I'll wait for the after action report before I say 'good job', Russ. Duct/Gaffer Tape on knee pads works well, definitely, but I have my doubts about the glue/bandage interface and also about how well the bandage will stay in place with the pad attached. I have worn tubular bandage under kecks to prevent the straps for crap knee pads, which bunch up in the crook of the knee when they slip, from giving me the dreaded chafe - it isn't as immobile as you'd want TBH and that's without any added weight.

I think the best solution may be to add pockets to the inside of the kecks and fit sleeping mat foam faced with a layer of plastic washing up bowl inside. Although the bagginess of the kecks will work against this as a plan. Maybe some plastic with a preformed curve, so that even if the pad isn't central when you kneel, the shape will make your knee slide into the pad. Couple of layers of 2L pop bottle may do it

 
The cutout V's allowed me to tape the foam together to form about a 120 degree angle with a curve laterally. I have left 6 inches of tubular bandage above and below the foam. I think from walking around my flat that they will work better than just kneepads.

 
I think pics are in order, Russ.

Before skirmish & after.

 
Asked about that mesh stuff people use for a snakeskin camo stencil at a couple of art / craft shops today. I think I explained it alright but don't have a clue what it's called. Neither of them had anyway anyway.

 
^^^^ yup pretty much any net will do, I normally use the net you get oranges or onions in from the fruit an veg shop.

 
Last edited by a moderator:
Asked about that mesh stuff people use for a snakeskin camo stencil at a couple of art / craft shops today. I think I explained it alright but don't have a clue what it's called. Neither of them had anyway anyway.
Fishnet tights. Ask your mum. ;)

 
> Noticed M700 wasn't hopping properly

> Opened her up

> Holy shit the hop is annoying to dismantle

> Notice nub is disfigured due to pressure

> Take nub

> Place on table

> Take hairdryer

> Soften nub on lowest setting

> Tease it back to original shape

> Leave to cool

> Reassemble hop unit

> Annoyingly difficult, took several attempts

> Get weapon back together after a slight clean and re-oil

> Testing tomorrow

 
> Noticed M700 wasn't hopping properly

> Opened her up

> Holy sh*t the hop is annoying to dismantle

> Notice nub is disfigured due to pressure

> Take nub

> Place on table

> Take hairdryer

> Soften nub on lowest setting

> Tease it back to original shape

> Leave to cool

> Reassemble hop unit

> Annoyingly difficult, took several attempts

> Get weapon back together after a slight clean and re-oil

> Testing tomorrow
I have a feeling it will deform faster each time you do this but as a temporary fix it should be okay.

 
Yeah, I'm going to see if I can get a 3D printed version made up for when it does. I have access to one at college so it's all good.

 
Back
Top