
JerseyRider
Members
- Oct 22, 2009
- 1,289
- 15
Hi all,
My JG M4 CQB is getting abit old for me, so i thought i would beef it up abit....
What i am going to do:
New matt black paint job for upper/lower reciver (i hate that gray colour)
Reroute batt wires to the front and into PEQ box for ease of life
Upgrade accurcy with tightbore and HU
Some gearbox work
My to buy list:
Krylon Fusion - Matt Black £6.50
Madbull Black Python Ver.2 6.03mm Tight Bore Barrel (363mm) - £29.99
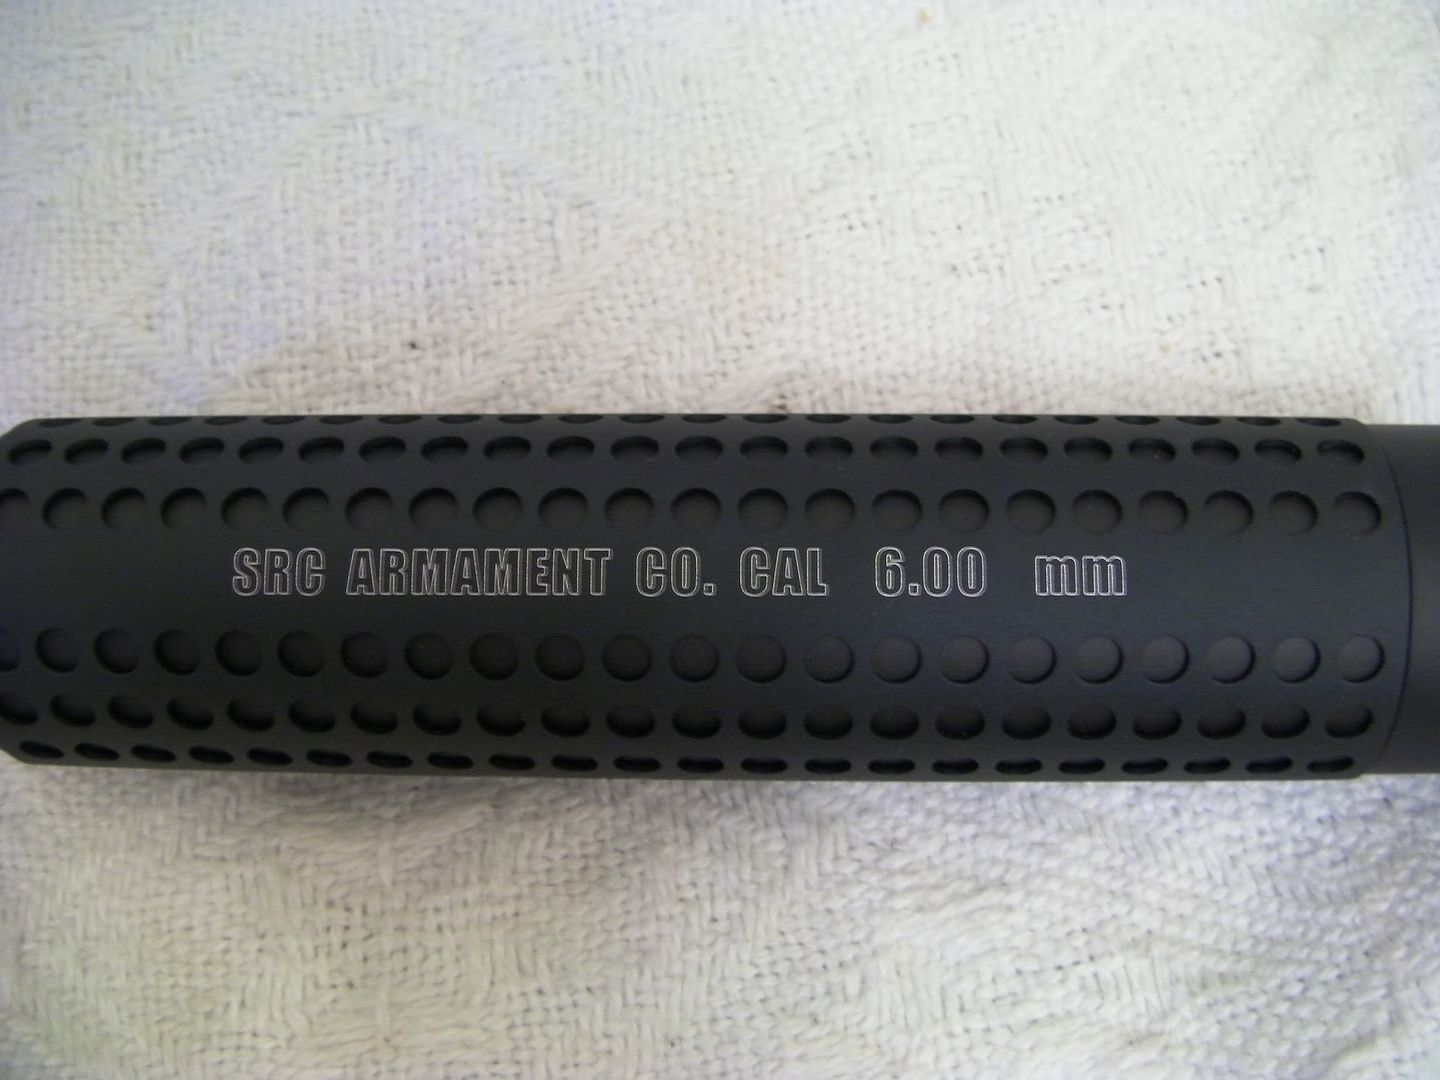
SRC KA Style Silencer Long (160mm) - £19.99
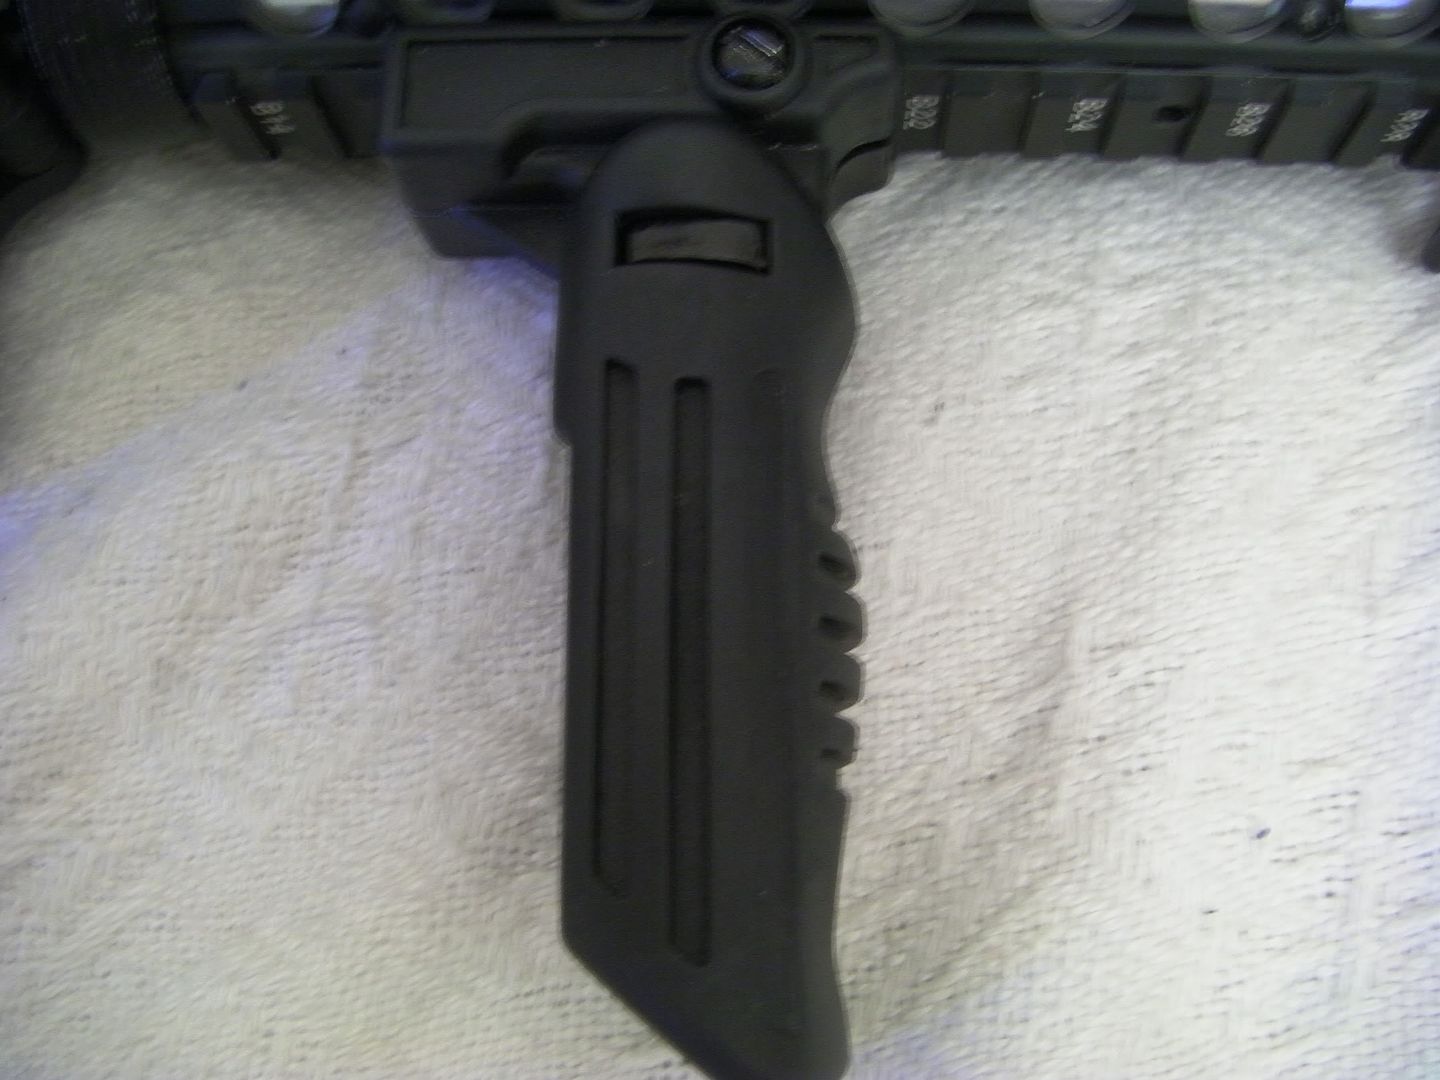
Tactical Folding Foward Grip - £11.99
Madbull Ultimate 3 in 1 Hop Unit for M4/AR series - £24.99
PEQ Box - To be found
Tac Light + Lazer?? - To be found
New Tac Stock - Got from a mate
Current Total: £93.46
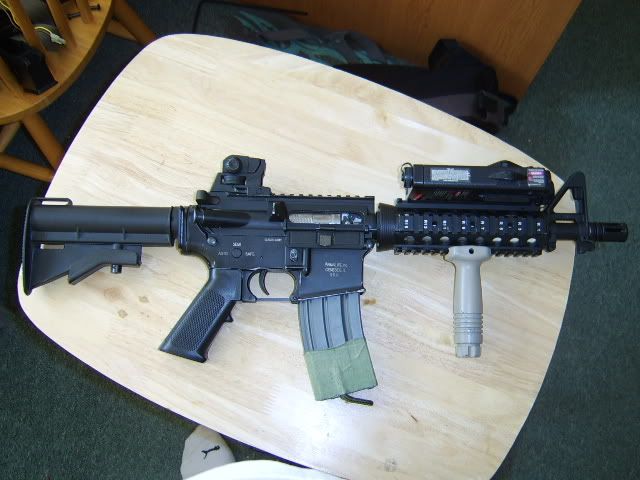
Before

Step one Stripping down for painting
I thought while i waited for the stuff to come down from Action Hobbies i would at least prep the M4 for paint. I started with seperating the upper and lower recivers but popping out the rear body locking pin first, then the front locking pin. Then i removed the motor plate from the pistol grip and removed the motor to get to the two small screws that hold the pistol grip into the gearbox. Then to remove the gearbox the small body pin, mag release catch and hop up had to come out, as dose the stock screw. Then, makeing sure the fire selector is set to semi, i lifted the gearbox out of the lower reciver and also removed the other little body bits includeing the fire selector and fake bolt release catch. To prevent the RIS rkit getting sprayed i removed that from the upper reciver.
Step two Preping for painting
First of i made sure that everything i didnt want sprayed to be masked up with masking tape, these bits include things like the dust cover and delta ring. Then useing a fine grade sand paper, i used 320 grade paper, then i roughed up the surfaces to be painted. Then i degreased all of the surfaces to get rid of all the paint dust that is left behind.
Stay tuned for more......
Thanks
Jack
If you have any hints tips or comment i am open to them")
Any help would be nice as this is abit of a new one for me
My JG M4 CQB is getting abit old for me, so i thought i would beef it up abit....
What i am going to do:
New matt black paint job for upper/lower reciver (i hate that gray colour)
Reroute batt wires to the front and into PEQ box for ease of life
Upgrade accurcy with tightbore and HU
Some gearbox work
My to buy list:
Krylon Fusion - Matt Black £6.50
Madbull Black Python Ver.2 6.03mm Tight Bore Barrel (363mm) - £29.99
SRC KA Style Silencer Long (160mm) - £19.99
Tactical Folding Foward Grip - £11.99
Madbull Ultimate 3 in 1 Hop Unit for M4/AR series - £24.99
PEQ Box - To be found
Tac Light + Lazer?? - To be found
New Tac Stock - Got from a mate
Current Total: £93.46
Before
Step one Stripping down for painting
I thought while i waited for the stuff to come down from Action Hobbies i would at least prep the M4 for paint. I started with seperating the upper and lower recivers but popping out the rear body locking pin first, then the front locking pin. Then i removed the motor plate from the pistol grip and removed the motor to get to the two small screws that hold the pistol grip into the gearbox. Then to remove the gearbox the small body pin, mag release catch and hop up had to come out, as dose the stock screw. Then, makeing sure the fire selector is set to semi, i lifted the gearbox out of the lower reciver and also removed the other little body bits includeing the fire selector and fake bolt release catch. To prevent the RIS rkit getting sprayed i removed that from the upper reciver.
Step two Preping for painting
First of i made sure that everything i didnt want sprayed to be masked up with masking tape, these bits include things like the dust cover and delta ring. Then useing a fine grade sand paper, i used 320 grade paper, then i roughed up the surfaces to be painted. Then i degreased all of the surfaces to get rid of all the paint dust that is left behind.
Stay tuned for more......
Thanks
Jack
If you have any hints tips or comment i am open to them
Any help would be nice as this is abit of a new one for me
Last edited by a moderator:


")


 you getting a ready mag and wiring it through?